There is no sinking feeling quite like updating a plugin on your live website and watching the screen turn blank. Whether you are a developer testing new code or a business owner tweaking a design, editing a live site is a gamble you do not need to take. Learning to setup WordPress locally gives you a sandbox environment where mistakes cost nothing and experimentation is limitless.
Local development allows you to run a full WordPress installation on your personal computer. It behaves exactly like a real website, but it is offline and accessible only to you. This is the industry standard for professional workflows, ensuring that your public-facing site remains stable while you break things in private.
Why You Need a Local Environment
Speed and safety are the primary drivers for local development. Because the site lives on your hard drive rather than a remote server, page loads are near-instant. This eliminates the lag of uploading files via FTP or waiting for a hosting server to refresh.
More importantly, it separates “development” from “production.” You can test a major WordPress core update, switch themes, or rewrite CSS without affecting your real visitors. If you break your local site, you simply delete it and start over in seconds.
Choosing the Right Tool: LocalWP vs. XAMPP
Historically, developers relied on software stacks like XAMPP, WAMP, or MAMP. These tools manually install Apache (server), MySQL (database), and PHP on your computer. While powerful, they are clunky and require significant configuration to get running.
For the vast majority of users today, Local (formerly Local by Flywheel) is the superior choice. It is a purpose-built application that automates the entire process. It handles the database, SSL certificates, and server configuration in the background, allowing you to focus on building the site rather than managing server ports. This guide focuses on using Local due to its ease of use and professional feature set.
Step-by-Step: Setting Up with Local
Getting your local environment running is a straightforward process that takes less than ten minutes.
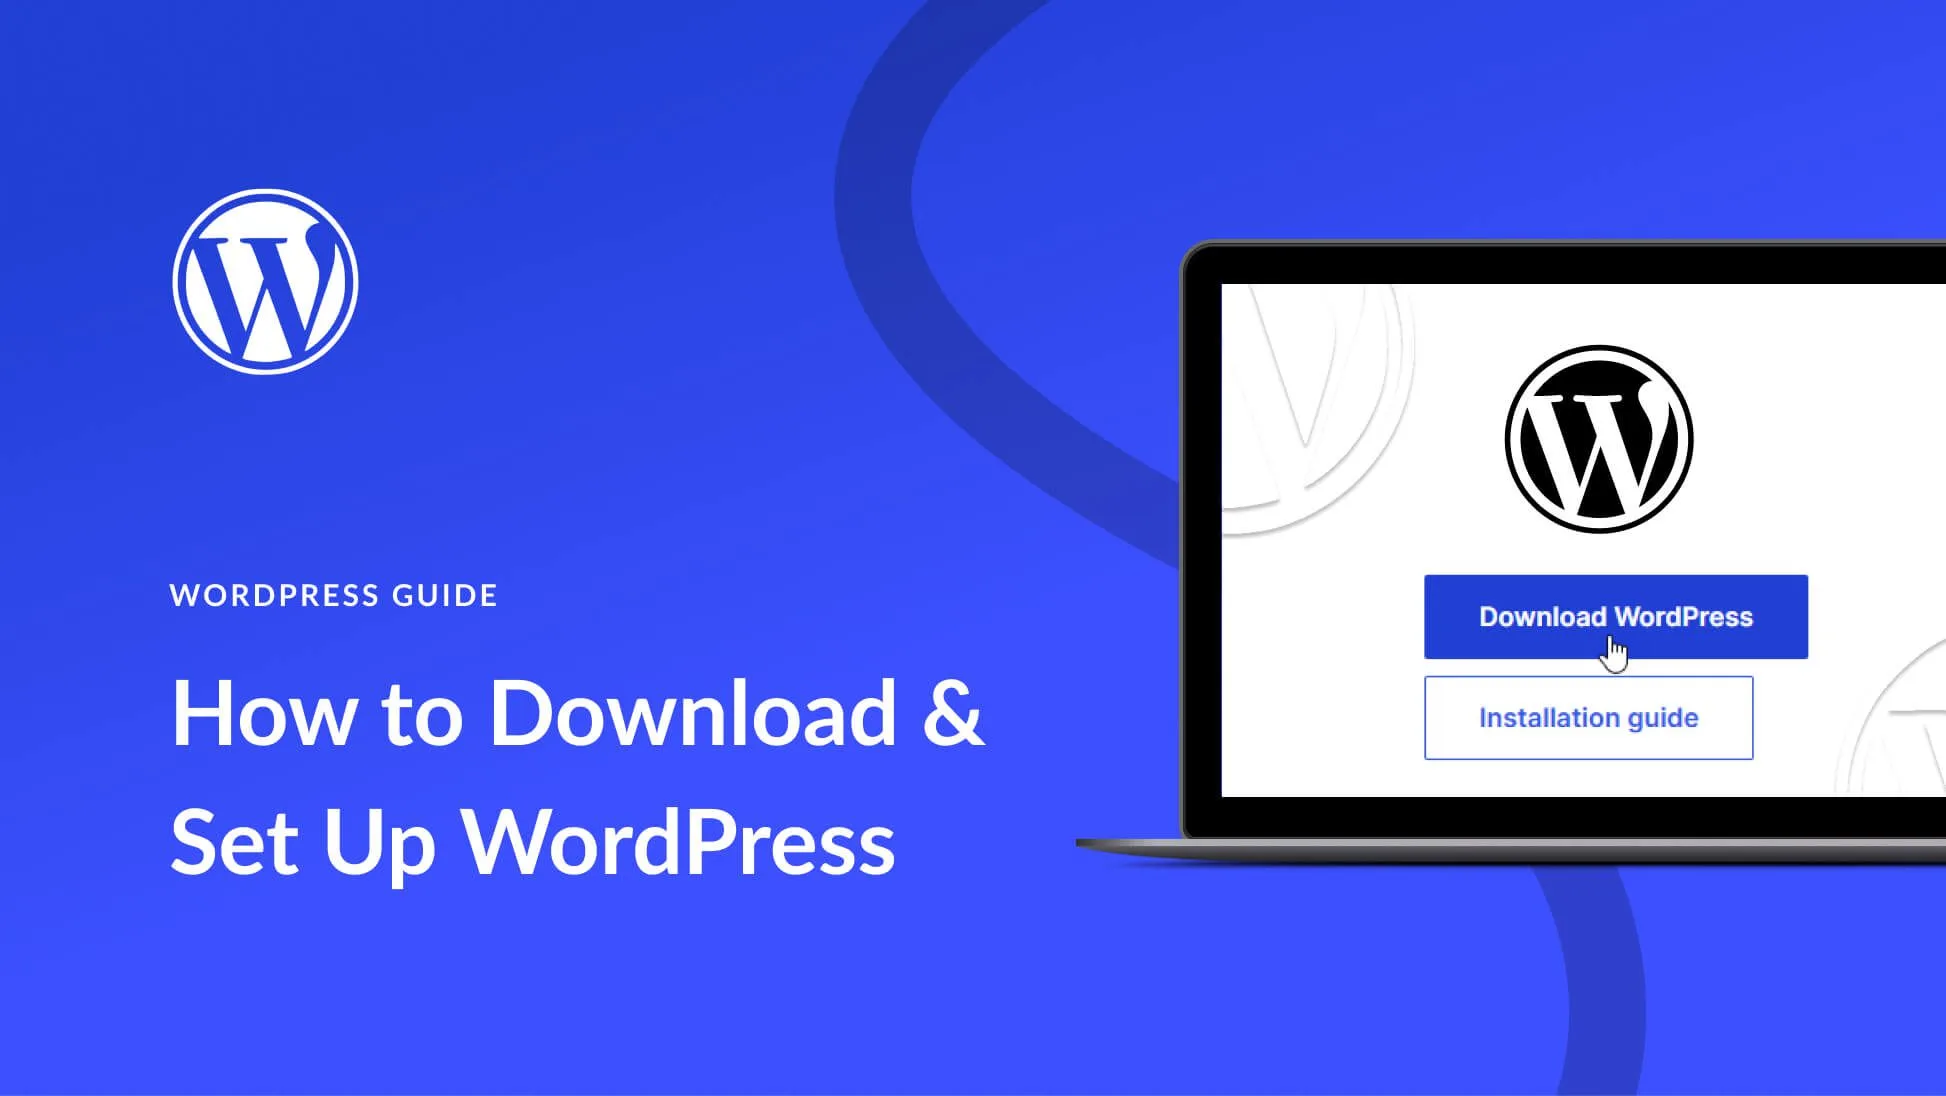
1. Download and Install Navigate to the LocalWP website and download the installer for your operating system (Windows, macOS, or Linux). The installation process is standard; simply follow the prompts. You do not need to create an account to use the core features.
2. Create a New Site Once the application is open, click the giant “Plus” button or “Create a new site.” You will be asked to name your site. This name will function as your local domain (e.g., mysite.local).
3. Choose Your Environment Local offers a “Preferred” environment, which uses the PHP and MySQL versions that match most modern hosting standards. Unless you have a specific need to test legacy code (like an old PHP version), stick to the Preferred settings. This ensures your local site mirrors what you will likely encounter on a quality hosting provider.
4. WordPress Configuration Enter your desired admin username, password, and email. Since this site is offline, you do not need a complex, 20-character password, but it is good practice to get used to security. Click “Add Site.”
5. Access Your Site After a few moments of provisioning, your site will appear in the dashboard. You will see two main buttons: “Admin” (which takes you to the WP Dashboard) and “Open Site” (which shows the frontend). You can now install themes and plugins just as you would on a live server.
Moving from Local to Live
The only downside to a local site is that no one else can see it. Once you have perfected your design or finished your testing, you need to migrate it to a live server.
You can do this manually by exporting the database and wp-content folder, but plugins make this significantly easier. Tools like All-in-One WP Migration or Duplicator allow you to package your entire local site into a single file. You then install a fresh WordPress instance on your live hosting, install the plugin, and “restore” the backup file. This overwrites the blank live site with your polished local version.
Conclusion
Knowing how to setup WordPress locally is what separates a hobbyist from a professional digital strategist. It grants you the freedom to innovate without fear of downtime. By integrating this workflow, you protect your live traffic, speed up your development process, and ensure that every change you deploy is battle-tested.